Full sig tut.
By: Guadent
Welcome, in this tutorial I will tell you my secrets behind this signature:
First ofcourse make a new document, in this case 300 x 150px.
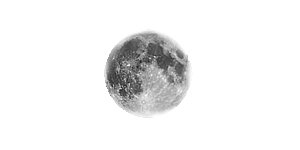
Then before going on, go to google and search for a nice image of the moon.
When you got one, it will probably be too big, so make it smaller to the size you want it.
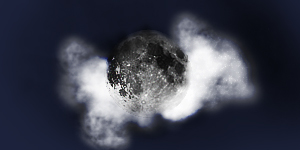
Insert it to the sig:
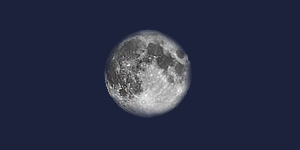
Now add a nice color background, since its the moon I chose for a nightly color:
Now its time to add some clouds, I used some grungy/smudging brushes I and set them to a smaller size:
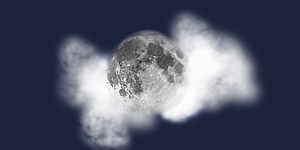
Be sure to put some in front and behind the image for realistic effects.
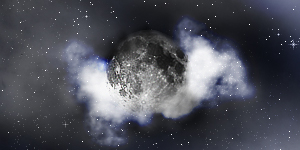
Now add some layers and with black and white brushes, darken and lighten the parts you want, set the layers on overlay or soft light (depending on what looks best):

Be sure to use many differend layers above and below one and other for better results and faster deletion if something isnt right.
Now its time to add some stars, there are many star brushes you can download on sites like Deviantart:
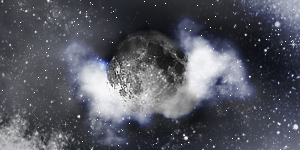
Now add some coloring layers, by making a new layer, filling it up with the color of your choice and setting it on overlay/soft light:
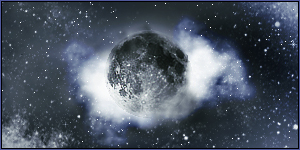
I also added a border and an outer glow to the moon.
Well, this was my tut, I hope you liked it.
THE END

| 


