How to make a nice Border TUT
Welcome to my tutorial. in this tutorial,
I will show you how to make one of my FAMOUS borders.
Why?
Lately Ive had some reactions on my works like:
Wow nice border and I like your borders
So i decided to show the world how to make them.
Lets start with a background:

What to do with this background?
First of all, Make a new layer
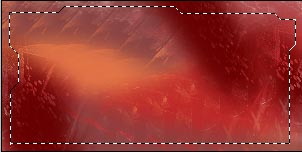
Now make a nice selection all around the sig.
(tip: hold shift while doing so)
At the end it should look something like this:
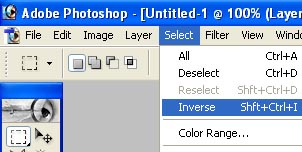
When you have done this, inverse the selection.
You can do this by going to the Select menu on top of the screen:
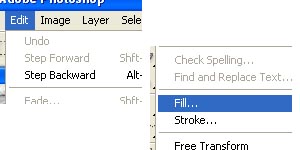
After you have done this, you can Fill it up,
do this by going to the Edit menu in the top left corner and click Fill..:
Now deselect youf selection by clicking it.
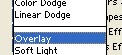
Now set the layer on Overlay:
After that, go to the Bevel and Emboss of your Border layer.
Do this by double clicking the layer.
Now go to Stroke and use these settings:
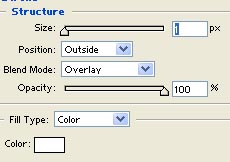
Its very important that you set it on Overlay else the whole effect will be ruined.
Now, go to your menu and select the Eraser tool
After you have selected the Eraser tool
go to the brushes window in the top left corner:

Select a nice grungy or whatever your style of background is.
Now start clicking at random points of your border.
You will erase small bits of the border.
Dont do this too often or the border will be gone. :P
Anyway, this was my result:

I hope you have enjoyed my tutorial.


